
Run OpenWrt as a Side-Router VM on FNOS
After my R5S router failed, I used the virtual-machine feature in FNOS to run OpenWrt as a side router on the home LAN. This article records that setup and adds the network-safety checks that were implicit in the original walkthrough.
Background
My R5S had been running for two years and nine months before it failed on November 19, 2025:
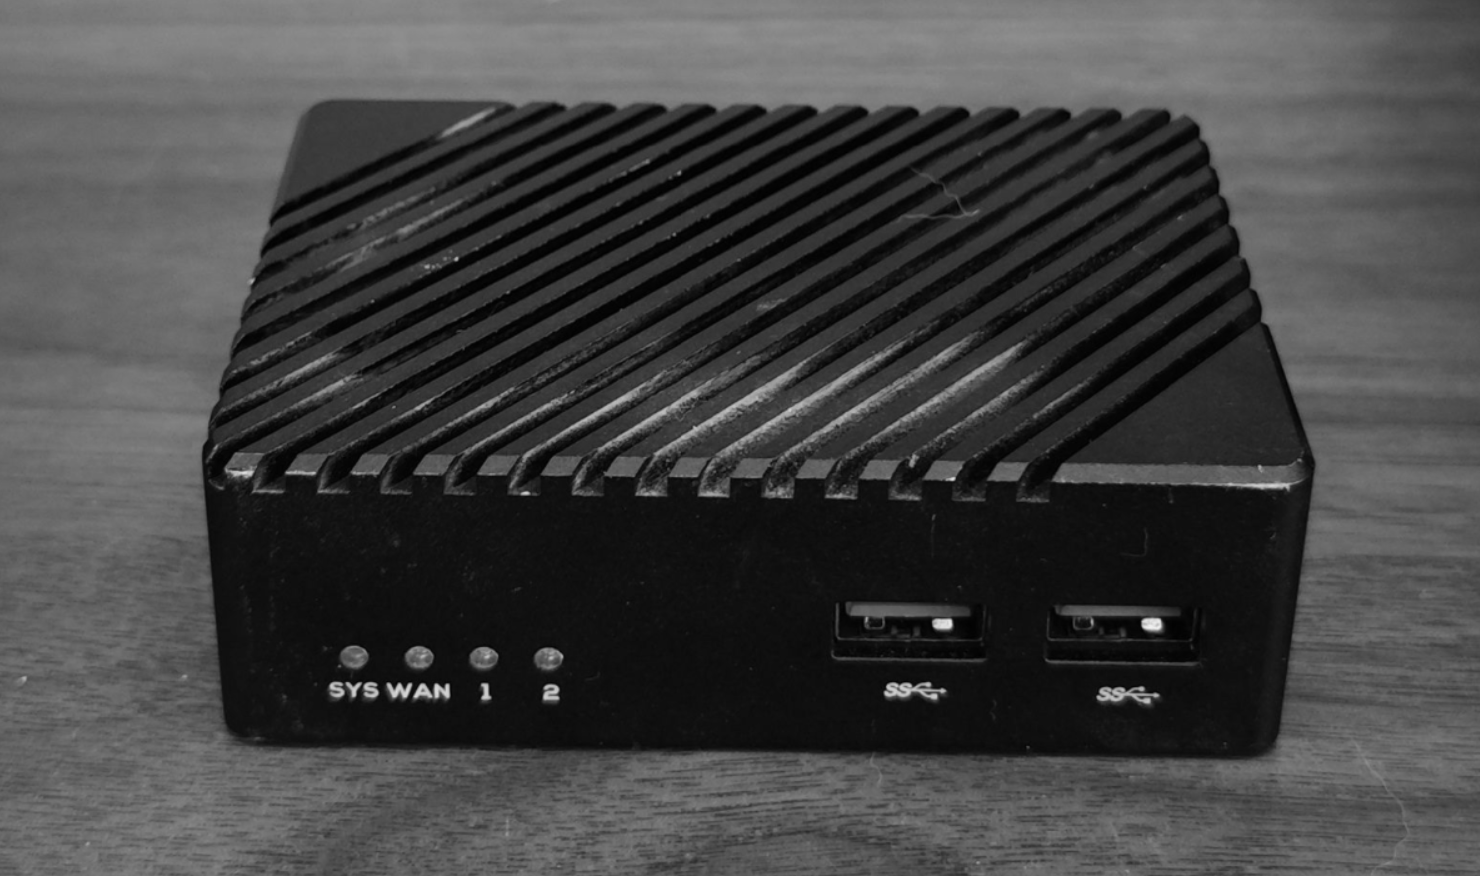
Repeated hard power-offs, limited cooling, or experimental firmware may have contributed, but there is not enough evidence to assign a cause. The replacement was an OpenWrt virtual machine on a small FNOS server:

Plan a recovery path first
A mistake in the VM bridge, gateway, DHCP, or firewall can disconnect the NAS or the whole LAN. Keep local console access to FNOS, record the main router's address and the NAS network settings, and make changes during a maintenance window. Do not make the OpenWrt VM the only path to the FNOS recovery interface.
1. Choose an OpenWrt Image
The original build used openwrt.ai, a third-party custom builder:
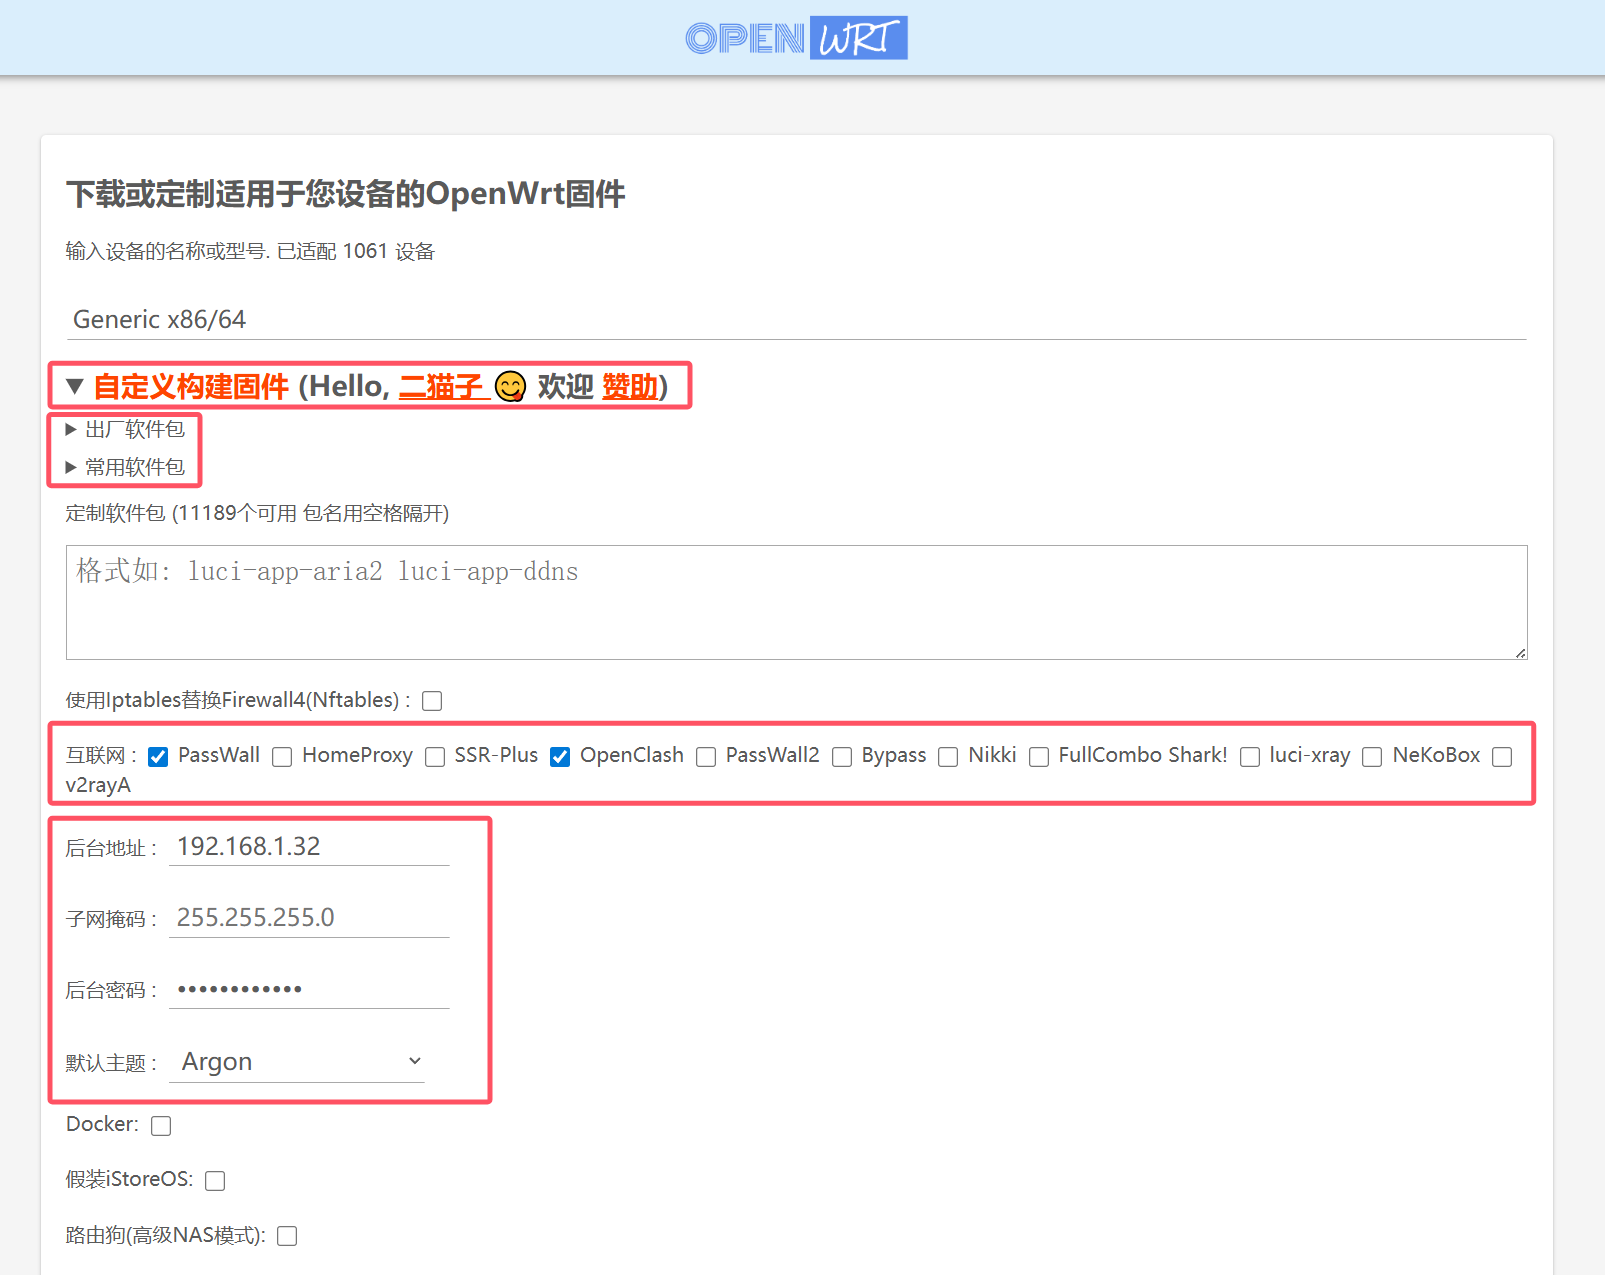
For a smaller supply-chain risk, start with the official OpenWrt Firmware Selector and select:
- target:
x86/64; - a stable release rather than a snapshot unless a snapshot is required;
generic-ext4-combined-efi.img.gzorgeneric-squashfs-combined-efi.img.gzfor a UEFI VM; or- the non-
eficombined image if the VM is configured for legacy BIOS.
The exact filenames change by release. OpenWrt's x86 installation guide explains the image variants. Ext4 is easier to resize and edit directly; squashfs offers OpenWrt's read-only base plus writable overlay and supports reset behavior.
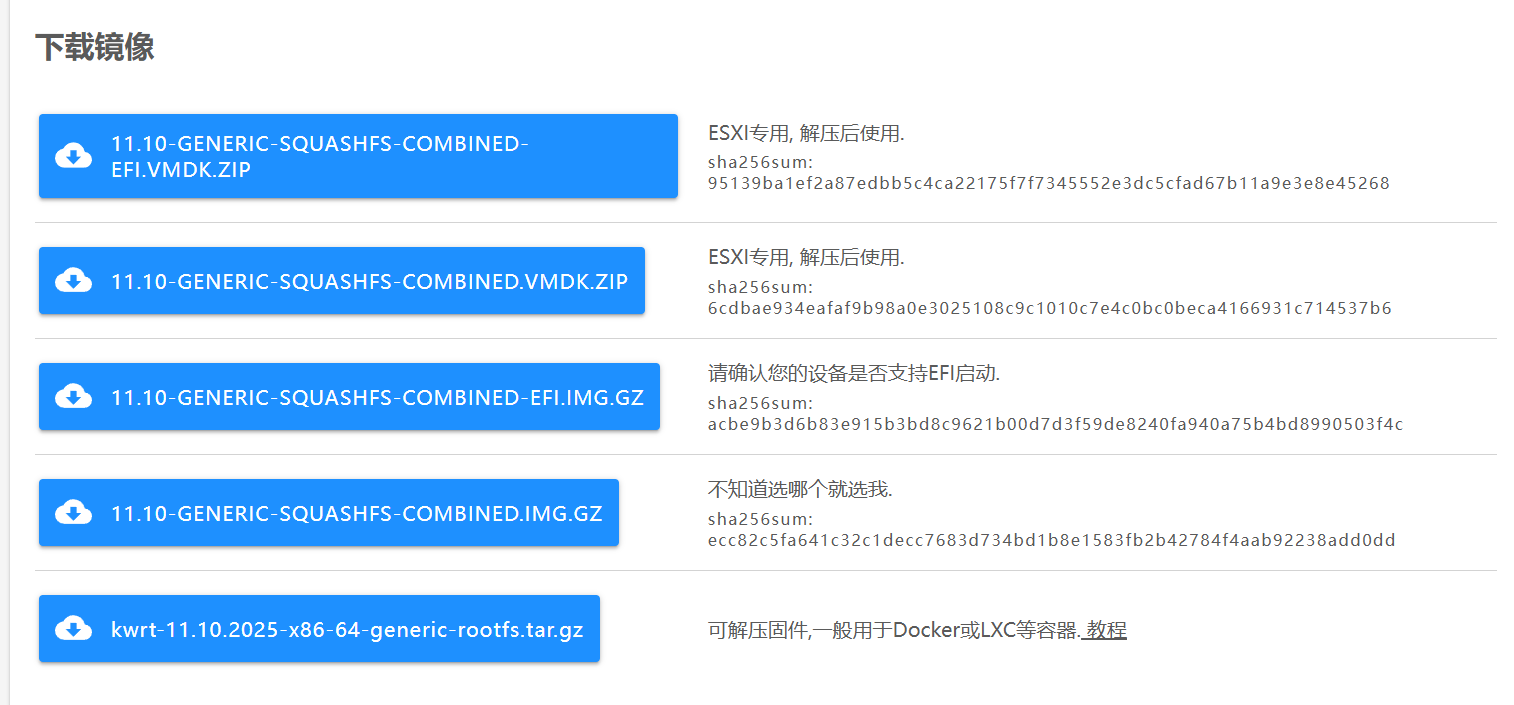
Verify the image checksum against the official release directory. If FNOS does not accept .img.gz, decompress a copy:
gzip -dk openwrt-*-combined-efi.img.gzDo not add packages or scripts from an unknown custom build merely for convenience. Every preinstalled plugin becomes part of the router's trust boundary.
2. Upload the Disk Image
Upload the image through FNOS File Manager, SMB, or another authenticated local transfer method:
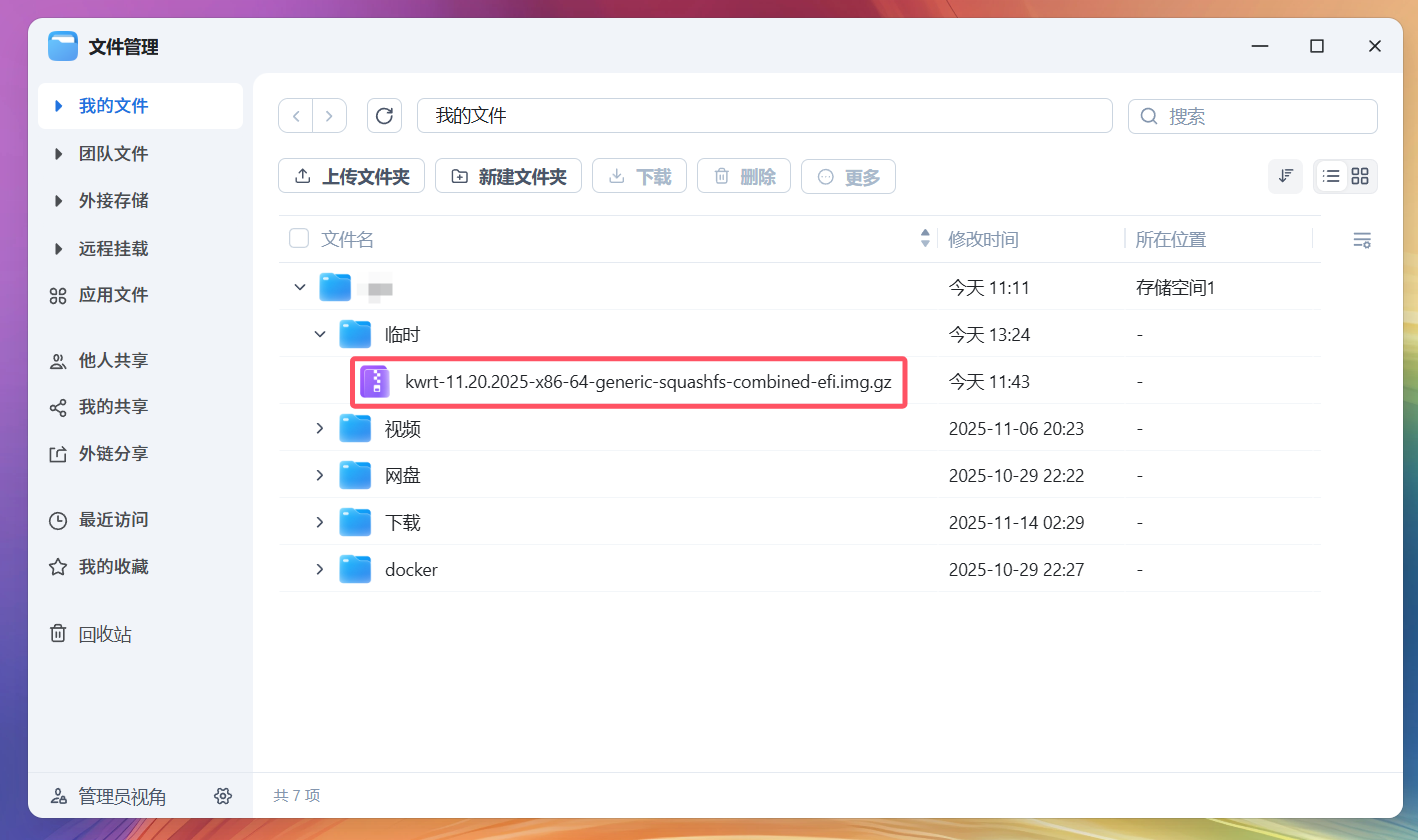
Keep it in a directory accessible to the VM manager but not writable by untrusted network users.
3. Create the VM
Open the FNOS Virtual Machine application and choose New VM. Install the VM application from App Center first if it is absent:
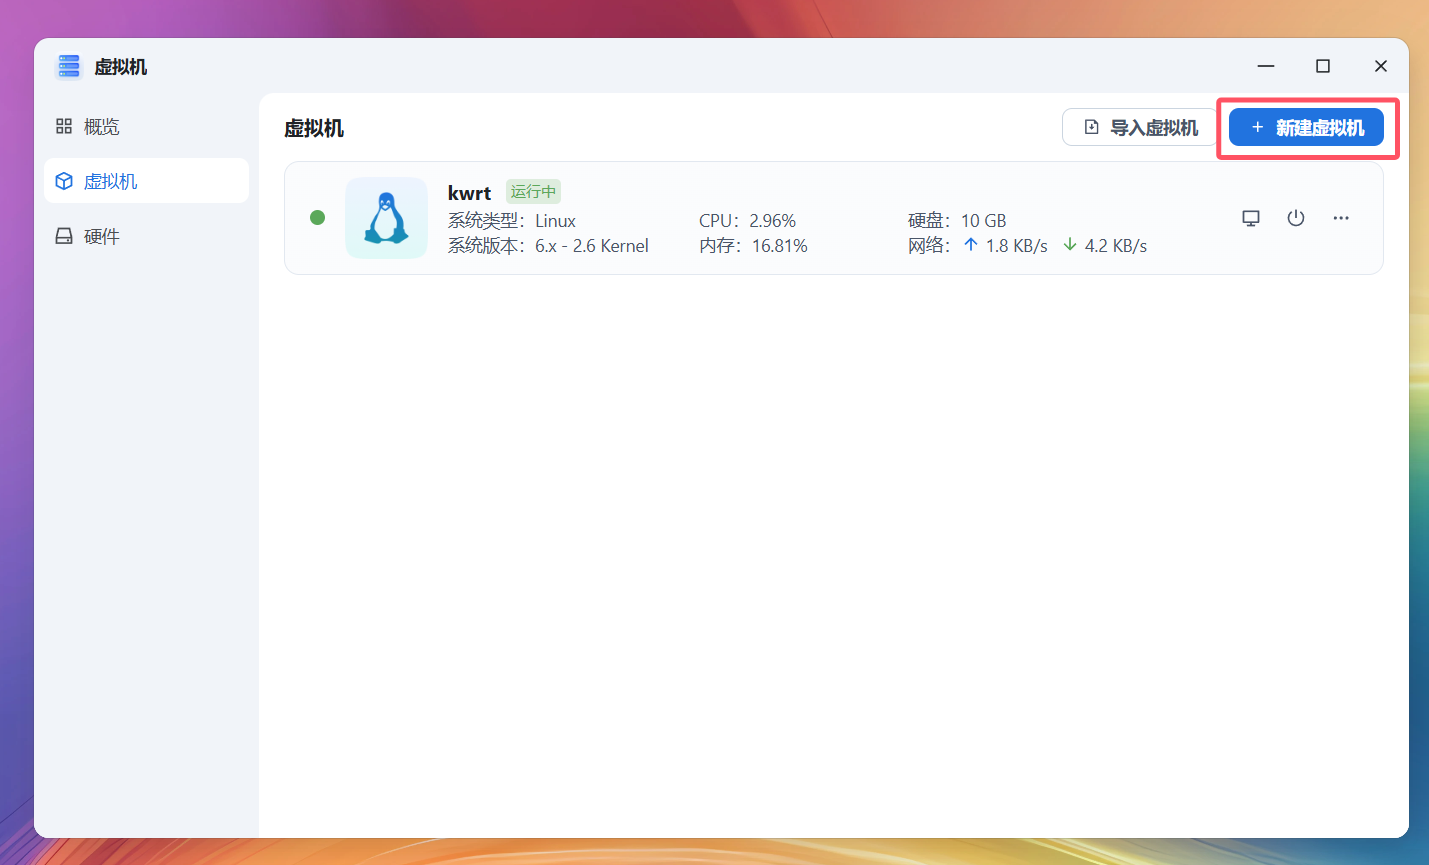
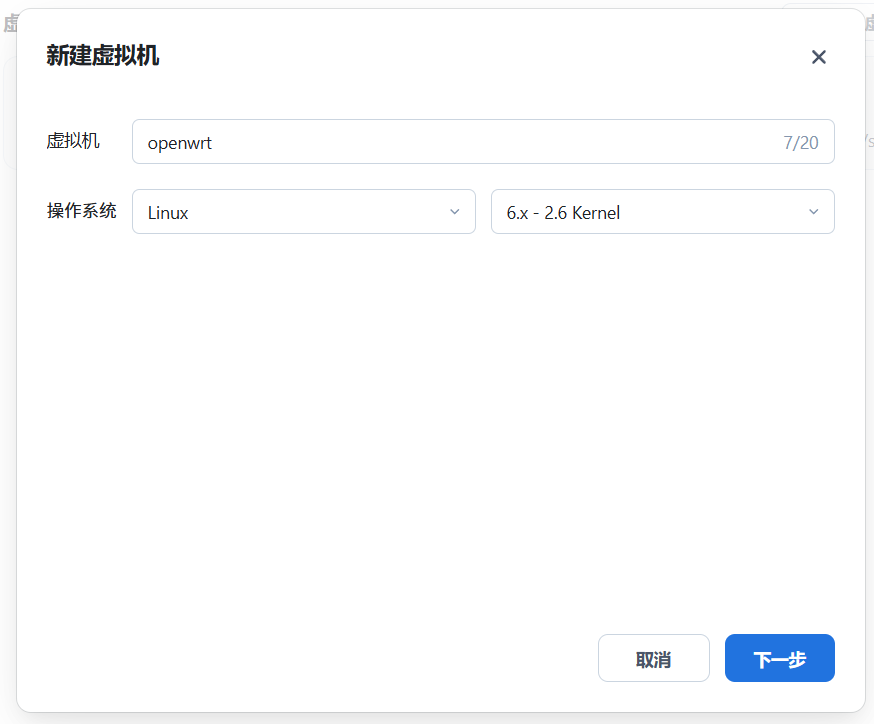
Name the VM and select Linux:
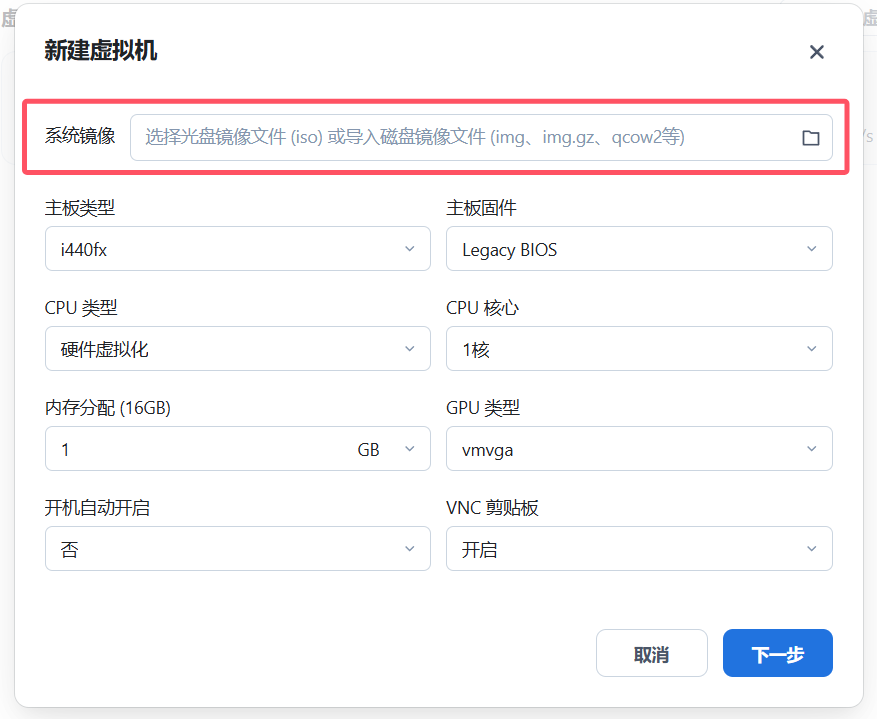
Use the uploaded OpenWrt image as the system disk:
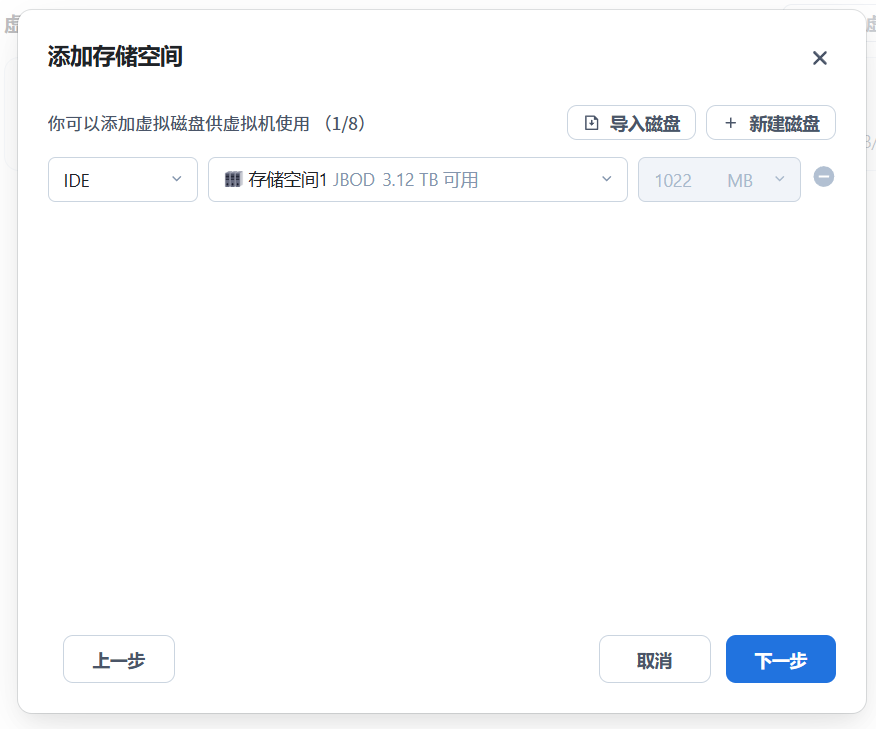
Reasonable starting resources for basic routing are one virtual CPU, 512 MB RAM, and a small expandable virtual disk. Traffic inspection, large rule sets, VPN encryption, or extra packages may need substantially more. Measure rather than copying a fixed allocation.
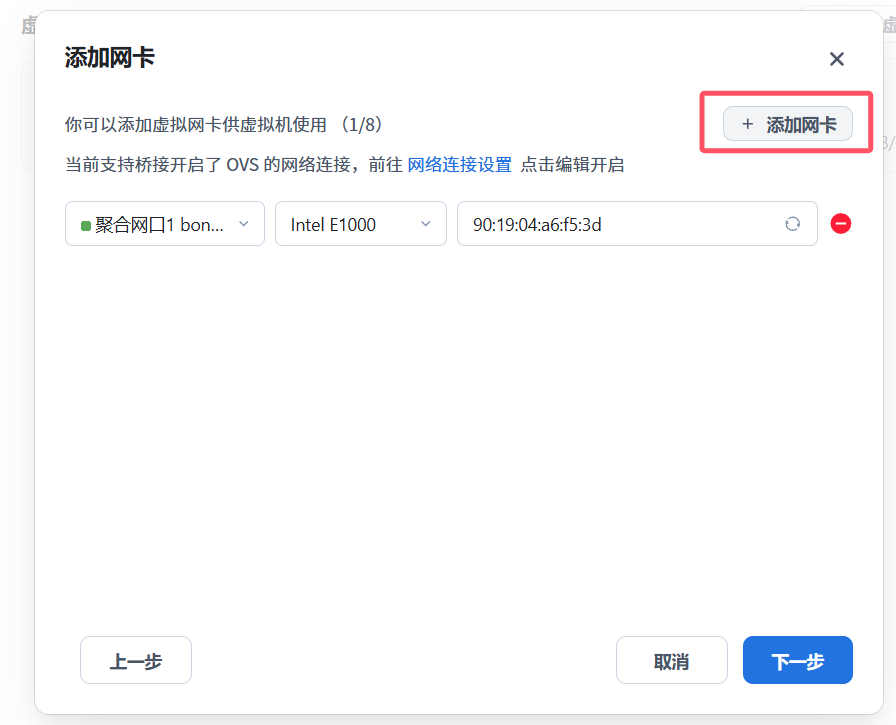
Enable automatic startup only after networking and clean shutdown have been tested. Otherwise a broken VM may interfere with the LAN after every NAS reboot.
Attach a virtual network interface
Add one virtual NIC connected to the LAN bridge:
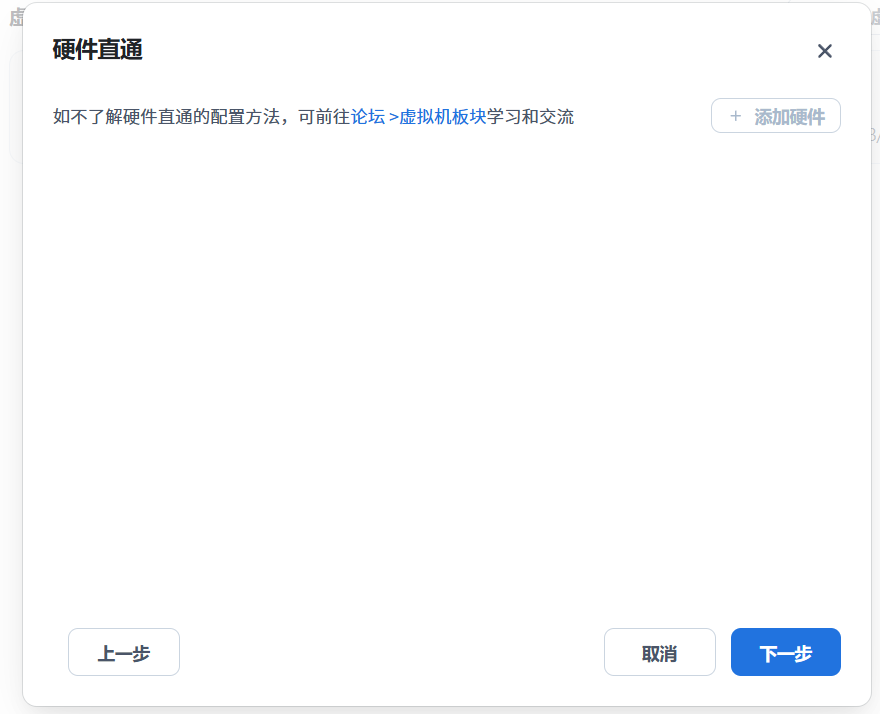
The source FNOS version required OVS to make a physical interface available to VMs. If the interface is missing, check Settings → Network Settings for the OVS option on that port.
Enabling OVS changes the host's network topology and may briefly interrupt FNOS connectivity. Confirm current FNOS documentation for your installed version, preserve the host IP configuration, and make the change with local console access. UI labels can differ after updates.
Hardware passthrough is not required for the one-NIC side-router design.
4. Boot and Open the Console
Start the VM:
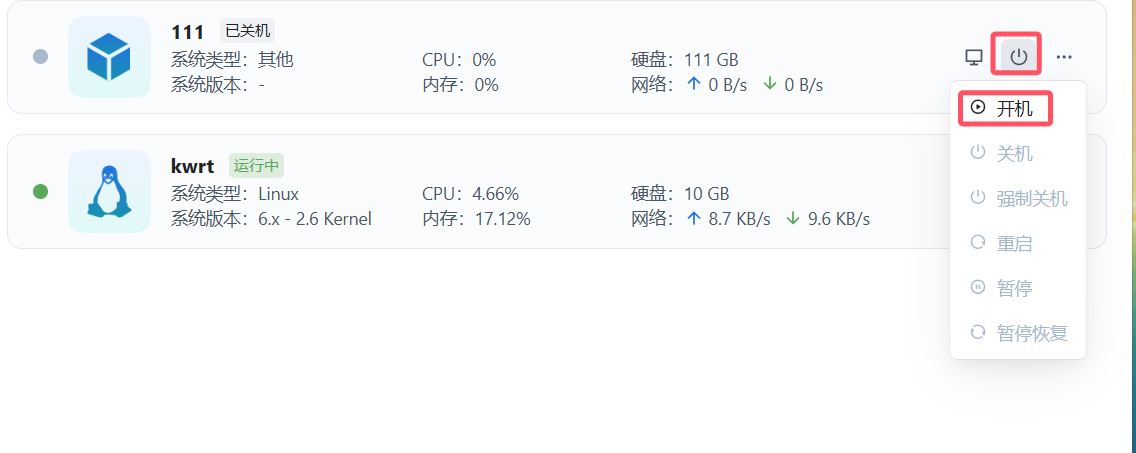
Open the VNC console:
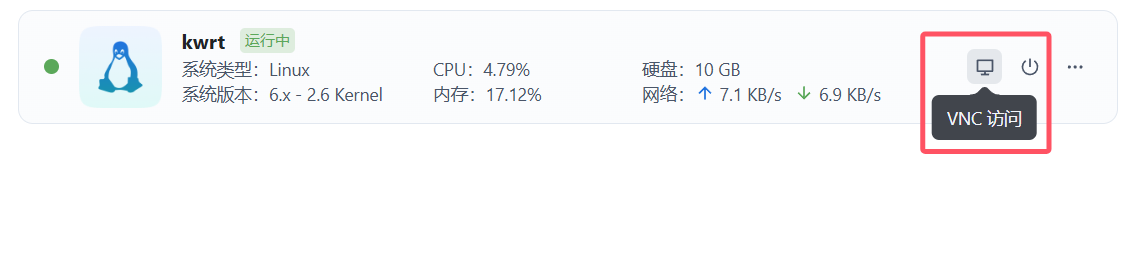
Wait for the OpenWrt login prompt. If it does not boot, verify that the VM firmware mode matches the image (efi versus legacy), that the decompressed disk was attached as a writable system disk, and that its architecture is x86-64.
5. Assign a Safe Static LAN Address
Choose an unused address in the main LAN, preferably outside the DHCP pool or reserved for the VM.
Example network:
| Role | Address |
|---|---|
| Main router | 192.168.1.1 |
| OpenWrt VM | 192.168.1.32 |
| Subnet | 192.168.1.0/24 |
Before committing, test from another host:
ping 192.168.1.32No response does not prove the address is free, so also inspect the main router's leases and ARP table.
The original article edited /etc/config/network directly:
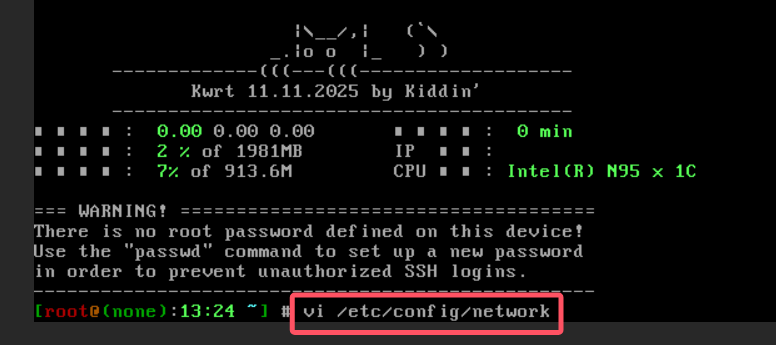
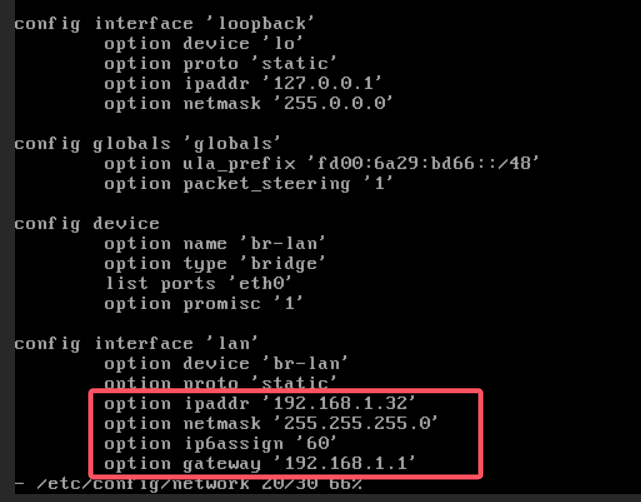
Using UCI reduces syntax mistakes. Adjust the example addresses:
uci set network.lan.proto='static'
uci set network.lan.ipaddr='192.168.1.32'
uci set network.lan.netmask='255.255.255.0'
uci set network.lan.gateway='192.168.1.1'
uci -q delete network.lan.dns
uci add_list network.lan.dns='192.168.1.1'
uci commit network
/etc/init.d/network restart
Do not change network.lan.device without checking ip link and the existing configuration; interface names vary by image and VM type.
Verify:
ip -br address
ip route
ping -c 3 192.168.1.1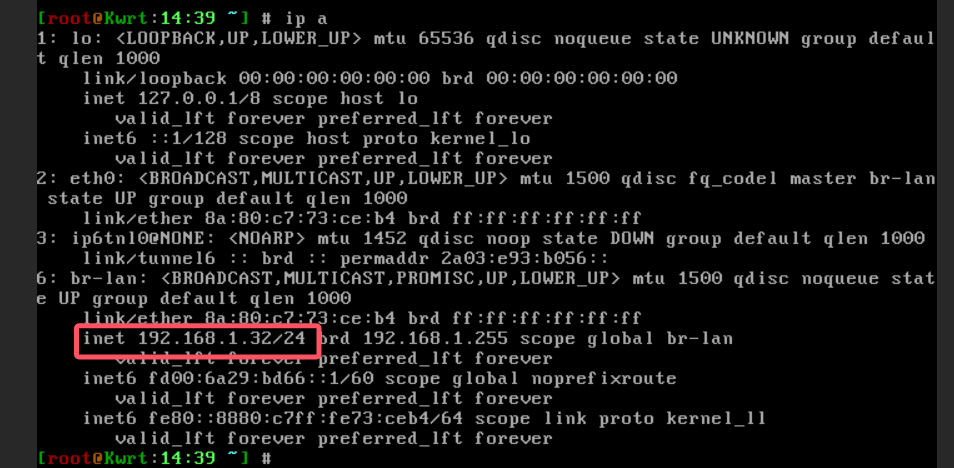
If connectivity is lost, return through VNC and restore the previous values.
6. Secure the OpenWrt Interface
Open:
http://192.168.1.32/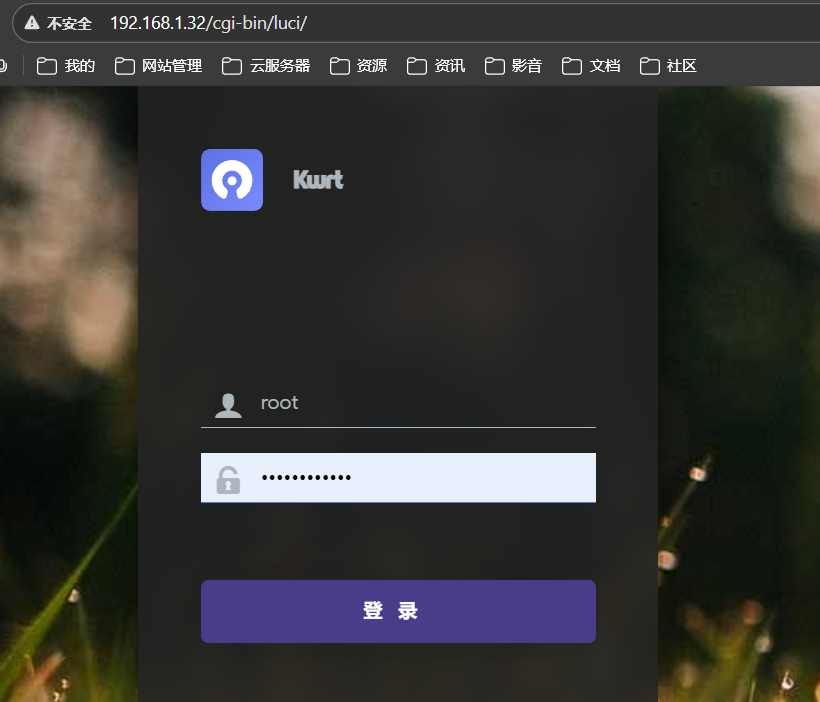
Set a unique administrator password immediately. Prefer HTTPS for administration once configured, restrict the management interface to the trusted LAN, disable password-based SSH if key-only access is practical, and install only packages you can maintain.
Disable competing DHCP
In a one-LAN side-router design, the main router normally remains the DHCP server. Disable OpenWrt's LAN DHCP server unless you have explicitly planned a migration:
uci set dhcp.lan.ignore='1'
uci commit dhcp
/etc/init.d/dnsmasq restart
Two uncoordinated DHCP servers can assign conflicting gateways and DNS settings.
7. Enable Side-Router Behavior
The custom firmware in the source exposed System → Setup Wizard → Network Settings → Side-router mode:
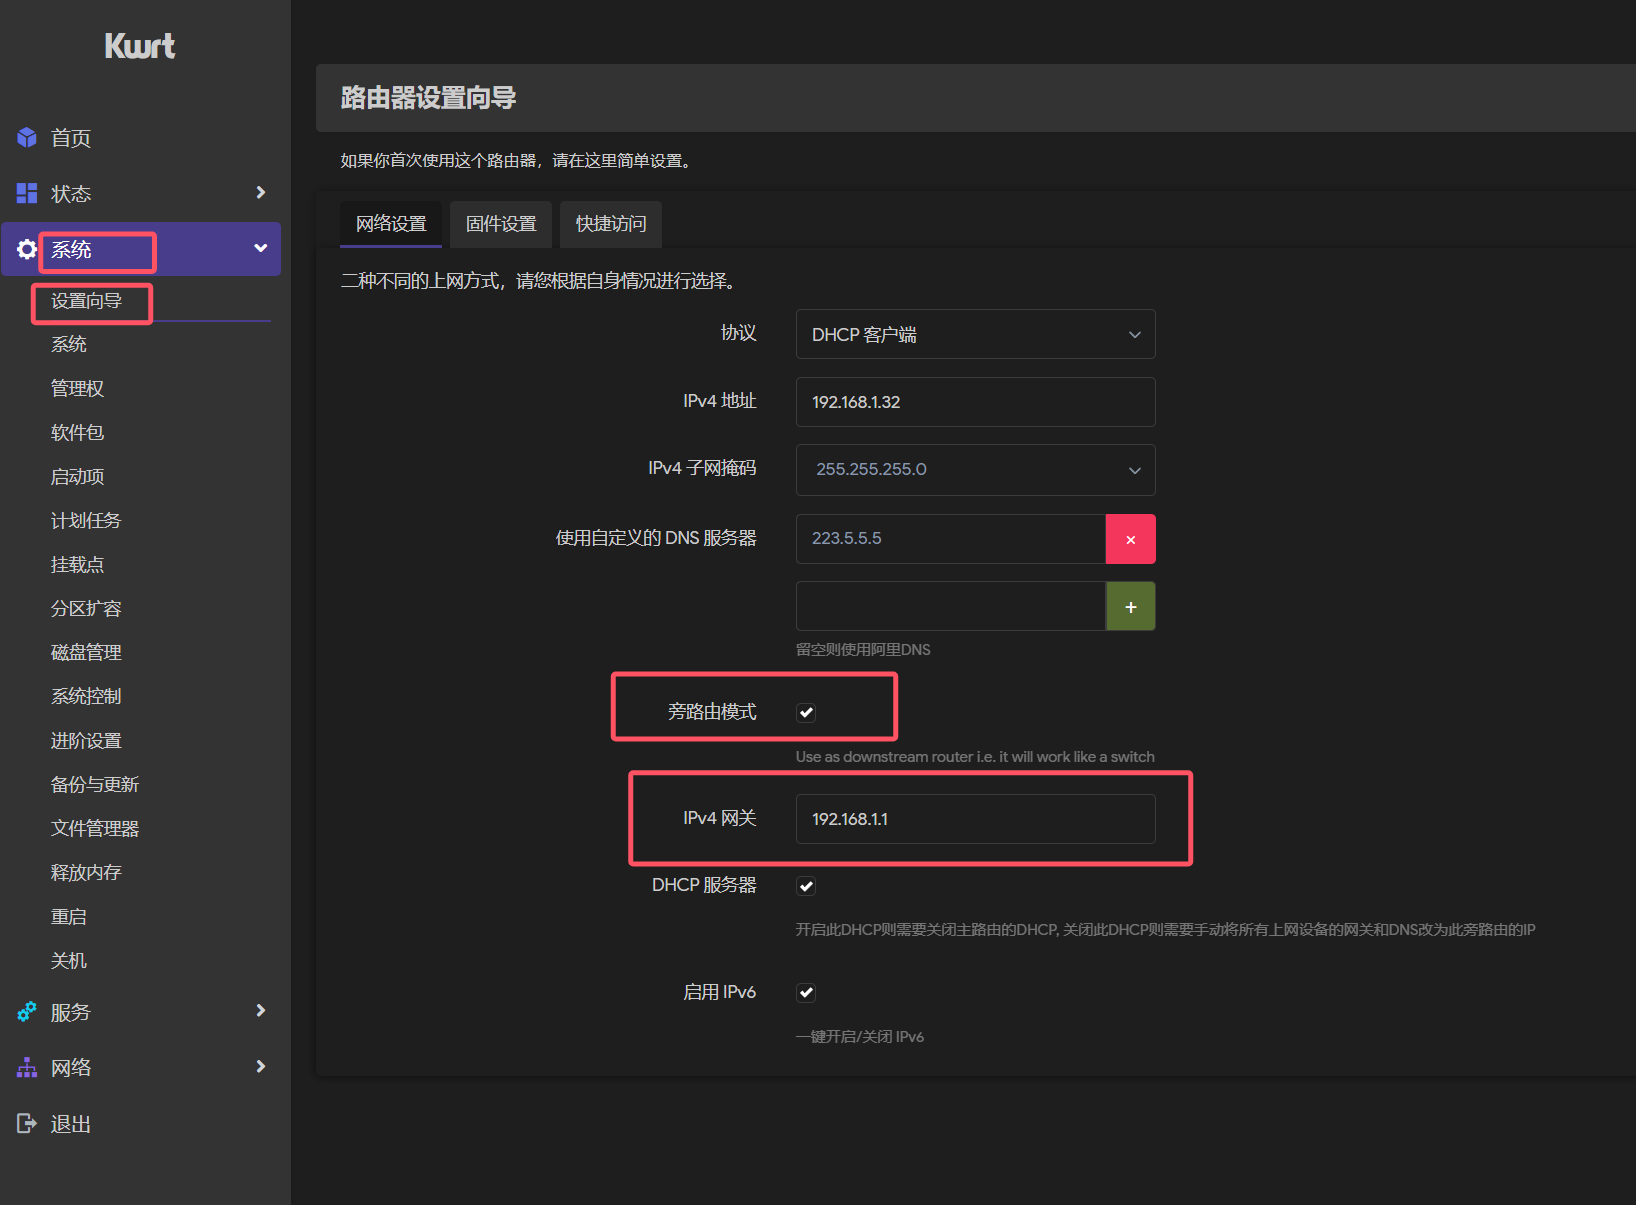
That wizard is not part of every stock OpenWrt image. Its behavior depends on the custom package: it may change forwarding, firewall, DNS, masquerading, and redirect rules. Review the generated configuration before trusting it.
For stock OpenWrt, there is no universal single checkbox. The correct design depends on what the VM provides:
- ordinary IP forwarding;
- DNS filtering;
- policy-based routing;
- a VPN or proxy gateway; or
- transparent interception.
Configure only the required function from maintained OpenWrt package documentation. Confirm:
sysctl net.ipv4.ip_forward
uci show firewall
ip rule
ip route show table all
Do not expose LuCI, SSH, DNS recursion, or proxy listeners to the public internet.
8. Test One Client Before Changing the LAN
The side router does not need to assign client addresses. On one test device, retain an address in the normal LAN but set:
- default gateway:
192.168.1.32; - DNS server: the OpenWrt address only if OpenWrt is intentionally providing DNS; otherwise use the planned resolver; and
- subnet mask: the existing LAN mask.
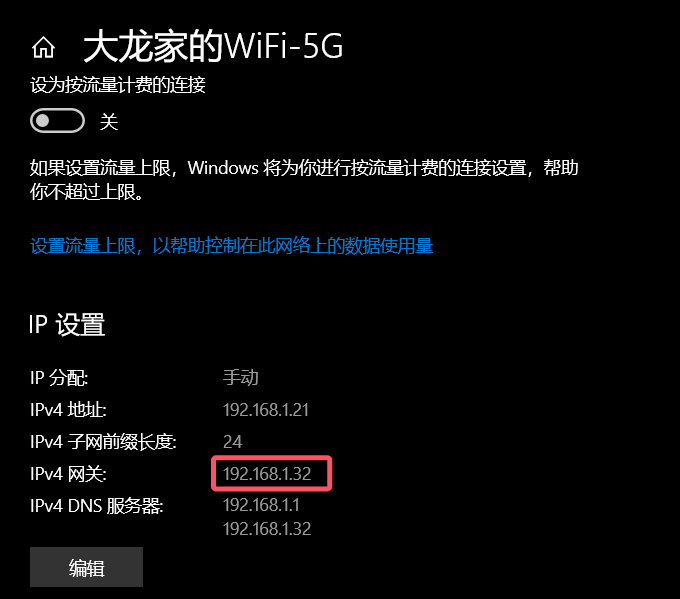
Windows example:
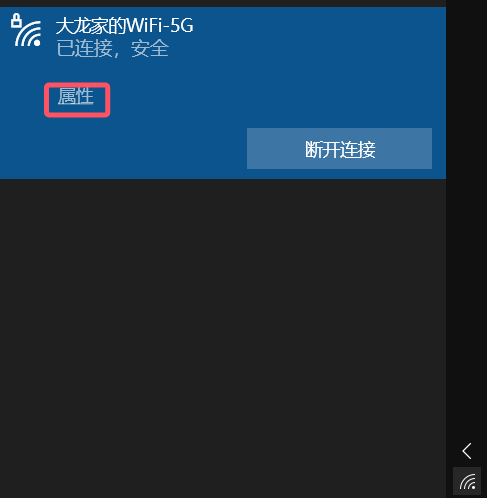
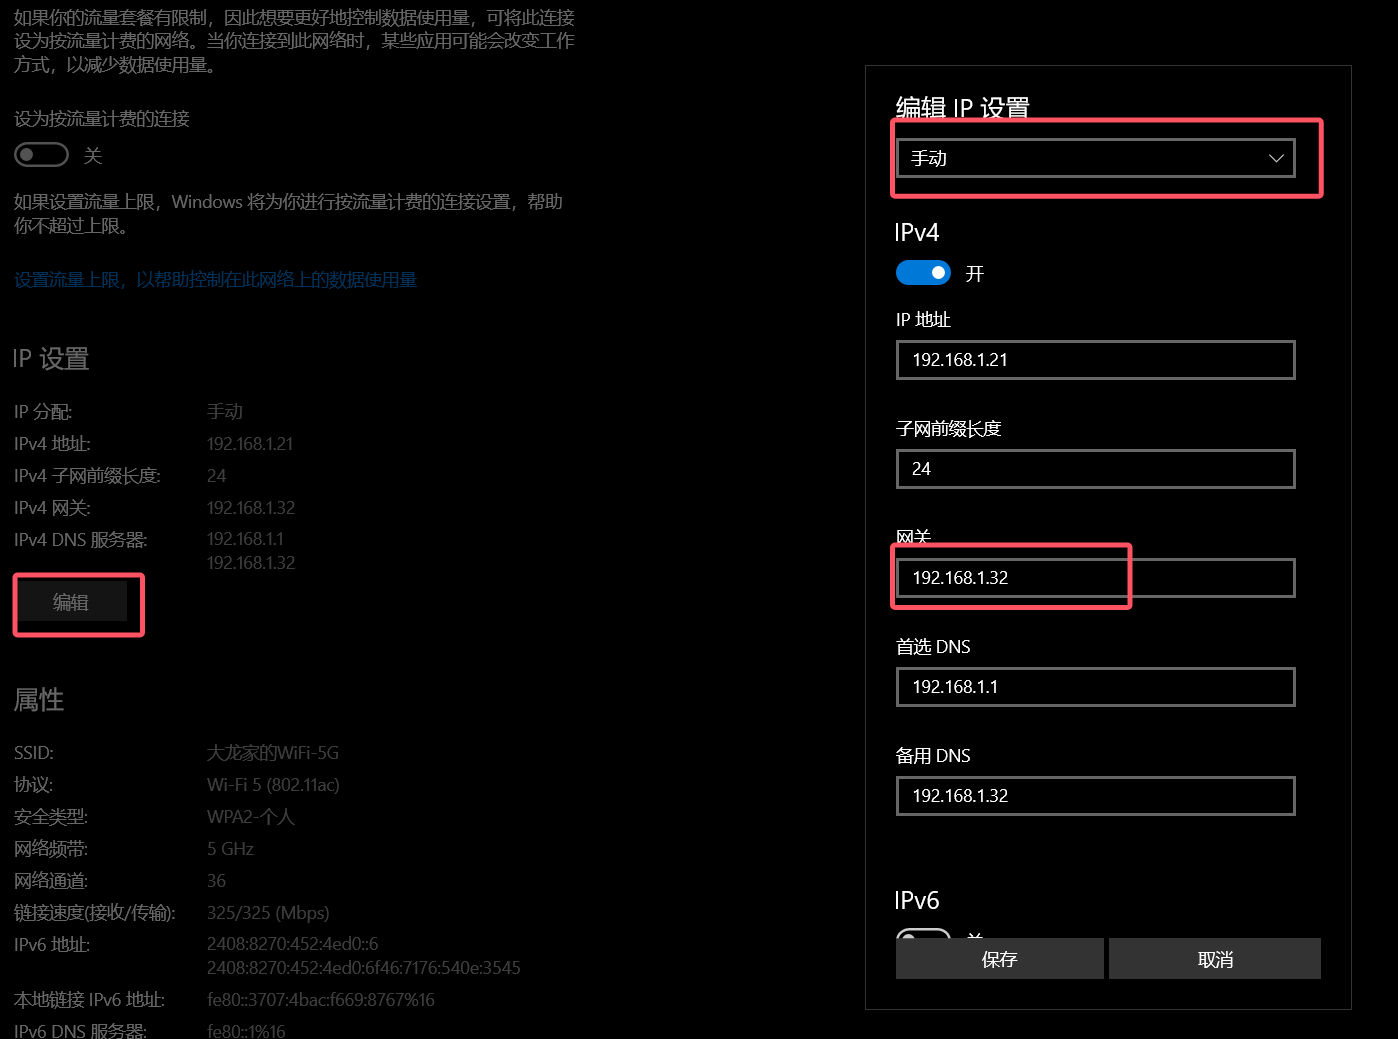
Test:
ipconfig /all
tracert 1.1.1.1
nslookup example.com
Also test local services, IPv6, large downloads, DNS failure behavior, and recovery after restarting the VM. If the OpenWrt VM fails, restore the client's gateway and DNS to the main router.
Only after one client works reliably should you consider DHCP options or policy rules that direct more devices through the VM. Keep a bypass path for the FNOS host itself.
Conclusion
An FNOS-hosted OpenWrt VM can replace some functions of a small physical router, but the VM, NAS bridge, storage, and host now share a failure domain. Back up /etc/config, record the FNOS VM and OVS settings, retain a direct route to the main router, and test restoration—not just normal forwarding.